To clean a coffee maker, start by removing the carafe and brew basket, washing them with warm soapy water, then run a descaling solution (equal parts white vinegar and water) through a full brew cycle, followed by two cycles of plain water to rinse. This simple routine removes mineral deposits, coffee oils, and bacteria that affect taste and performance. In this guide, you’ll learn why each step matters, what supplies you need, and how often to do it.
Why You Need to Clean Your Coffee Maker
Your coffee maker works hard every day, but it also traps residue from both water and coffee. Over time, minerals from hard water form scale inside the water reservoir and heating element. This reduces brewing temperature and slows water flow, making your coffee taste flat or bitter.
Additionally, coffee oils accumulate on surfaces, turning rancid and imparting a stale, burnt flavor to fresh brews. Mold and bacteria can also thrive in damp, dark areas like the water tank and drip tray. Regular cleaning prevents these issues and extends the life of your machine.
Mineral Buildup from Hard Water
Hard water contains calcium and magnesium that leave white, chalky deposits inside your coffee maker. These deposits, called scale, can clog the water lines and heating element. When scale builds up, the machine takes longer to heat water and may not reach the optimal brewing temperature. You might notice slower brewing or a weaker cup.
Descaling with a vinegar solution or a commercial descaler removes these deposits. If you live in an area with hard water, you may need to clean more frequently, every one to three months instead of every three to six.
Stale Coffee Oils Affecting Flavor
Each time you brew, coffee oils cling to the carafe, brew basket, and even the internal tubing. These oils oxidize over time, becoming rancid. They can make your next pot taste bitter, sour, or just plain off. A simple wash with soap and water removes most surface oils, but a deeper clean with vinegar or a specialized cleaner is needed for the internal parts.
If your coffee suddenly tastes bad even with fresh beans, stale oils are likely the culprit. Regular cleaning of the brew basket and carafe after each use helps minimize buildup.
Mold and Bacteria Growth
Moisture and warmth create an ideal environment for mold and bacteria. The water reservoir, drip tray, and even the lid of the carafe can harbor these microorganisms. You might notice a musty smell or see pink or black spots. Mold can cause allergic reactions and spoil the taste of your coffee.
To prevent mold, always empty the carafe and drip tray after use, and leave the reservoir lid open to air dry. Running a vinegar cycle kills most bacteria and mold spores. If you spot visible mold, scrub the affected parts with a soft brush and bleach solution (1 part bleach to 10 parts water), then rinse thoroughly.
Clogged Water Lines
Mineral deposits and coffee grounds can clog the small tubes that carry water from the reservoir to the brew basket. A clogged water line often results in a slow drip or no water flow at all. You may also hear gurgling sounds or see steam escaping from the top. This is a clear sign that descaling is overdue.
Regular descaling prevents clogs. If your machine is already clogged, you may need to run multiple descaling cycles or use a commercial cleaner designed to dissolve stubborn blockages.
How to Clean Your Coffee Maker
Follow these steps to clean your coffee maker thoroughly. The exact method may vary slightly by model, but the general process works for most drip coffee makers.
- Remove the carafe, brew basket, and any removable parts, and wash them in warm soapy water. Rinse and dry.
- Fill the water reservoir with equal parts white vinegar and water (or use a commercial descaling solution according to the label).
- Place a paper filter in the empty basket and start a brew cycle. When half the water has passed through, turn off the machine and let it sit for 30 minutes to allow the vinegar to break down scale.
- Restart the cycle and let it finish. Discard the vinegar solution and the used filter.
- Run two full cycles with fresh water to rinse out any vinegar taste. Discard the water after each cycle.
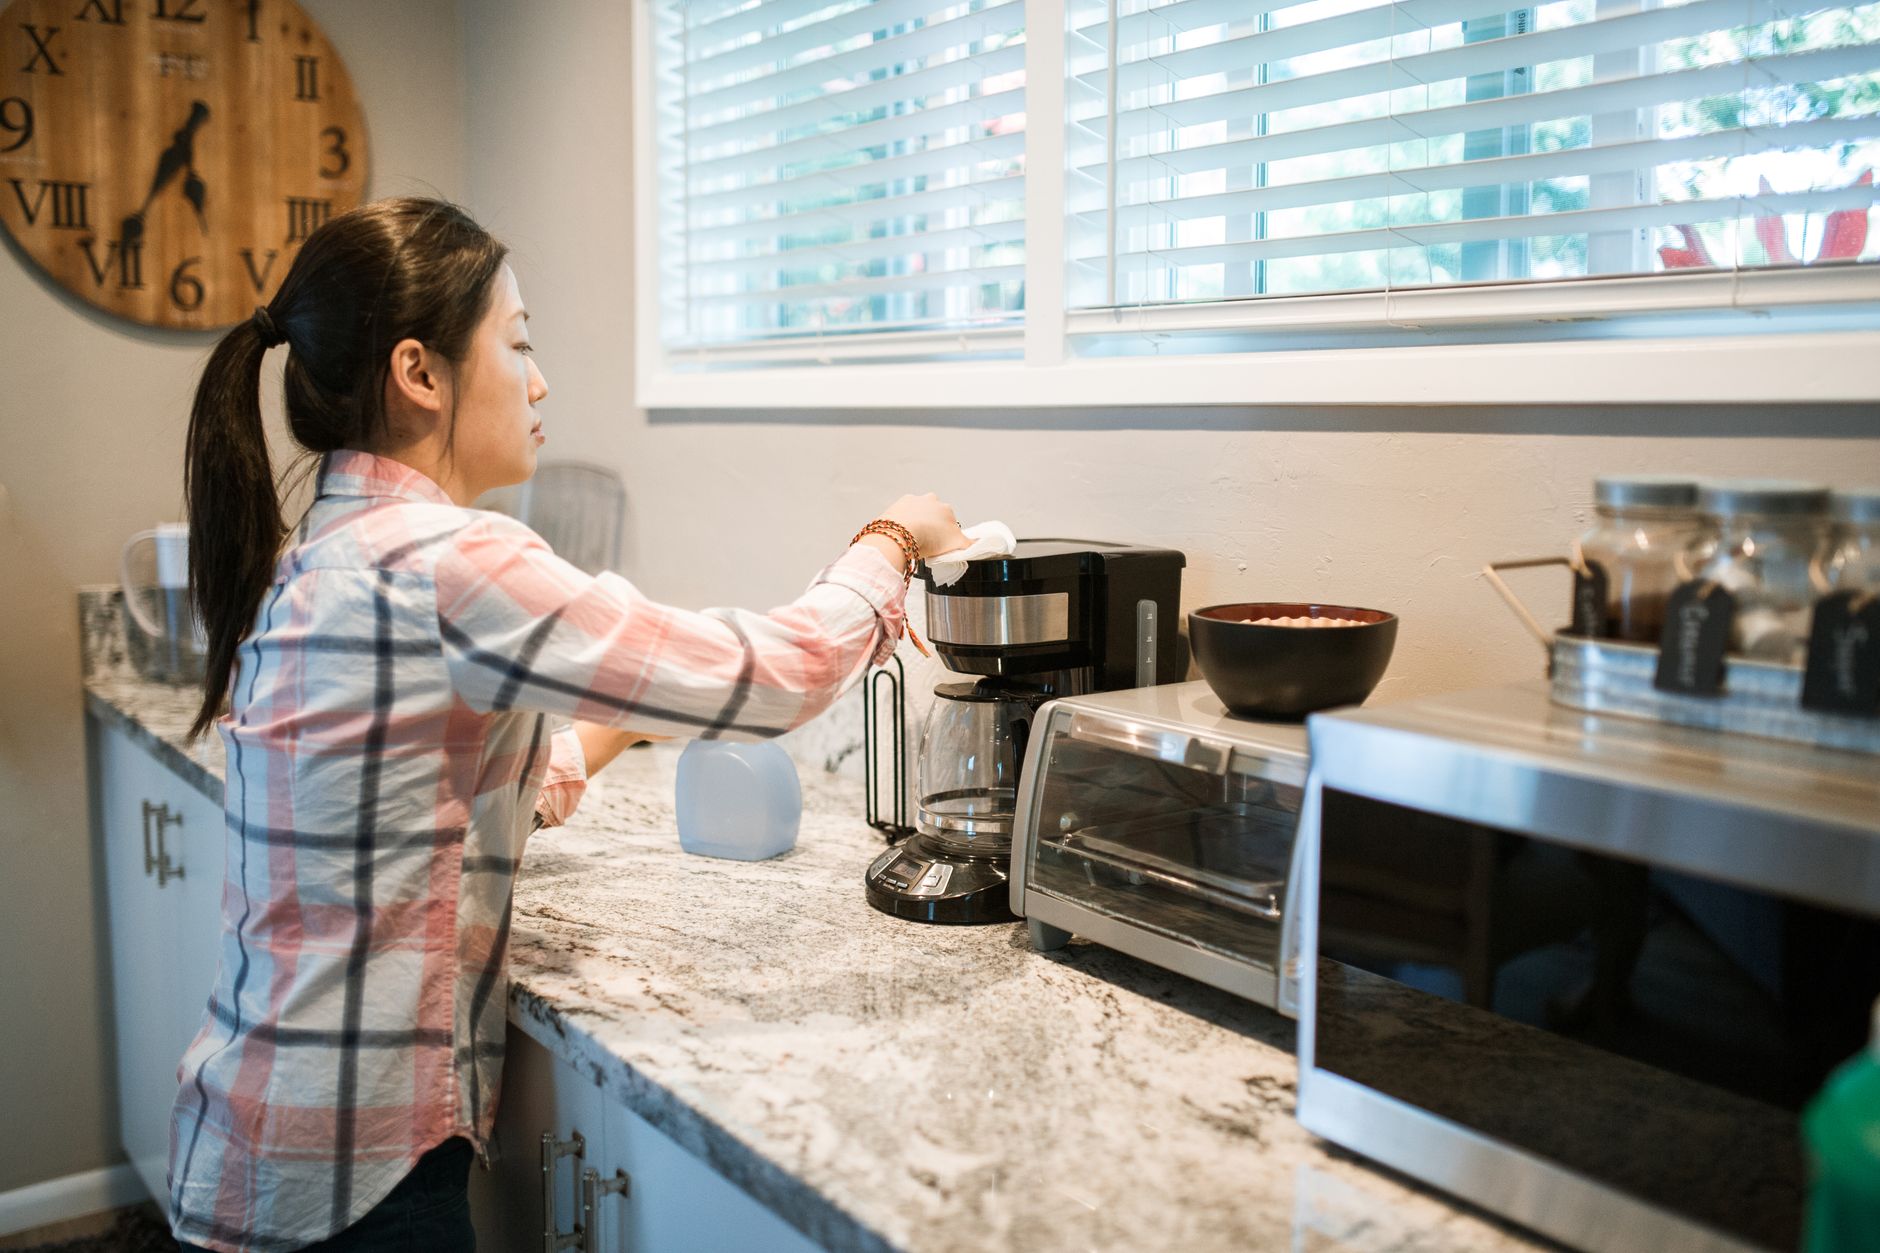
- Wipe down the exterior and the warming plate with a damp cloth. Clean the drip tray as well.
If your coffee maker still has issues after cleaning, such as not brewing or water not flowing, the problem may be more than just buildup. For a deeper look at those specific symptoms, check out our guide on coffee maker not brewing causes and fixes. It covers additional troubleshooting steps beyond basic cleaning.
Frequently Asked Questions
How often should I clean my coffee maker?
For best results, wash removable parts after each use. Descaling should be done every three to six months, or more often if you have hard water. If you notice a decline in flavor or slower brewing, clean sooner.
Can I use bleach to clean my coffee maker?
Bleach is not recommended for routine cleaning because it can leave a strong odor and residue. Use vinegar or a commercial descaling product instead. Only use a diluted bleach solution (1:10) for sanitizing after visible mold, and rinse very thoroughly with multiple water cycles.
Does cleaning a coffee maker remove coffee stains?
Yes, cleaning removes coffee stains from the carafe and brew basket. For stubborn stains on the carafe, soak it with a mixture of baking soda and water, or use a denture cleaning tablet. Avoid abrasive scrubbers that can scratch the glass.
What if my coffee maker still smells after cleaning?
A lingering smell usually means the vinegar rinse wasn’t thorough enough. Run two additional water cycles. If the odor persists, check the water reservoir lid and drip tray for hidden mold. You may need to disassemble these parts and scrub them separately.
Related Guides
- 10 Best Coffee Makers for Every Brewing Style
- How to Descale a Coffee Maker
- How to Remove Coffee Maker Mineral Buildup
Final Thoughts
Knowing how to clean a coffee maker properly keeps your machine running well and your coffee tasting fresh. Regular descaling and washing prevent the most common issues. If you’ve followed these steps and still have trouble with water flow or brewing, take a look at our detailed guide on coffee maker water not flowing for more targeted solutions.